3. Customer Network (for Agents and Distributors)
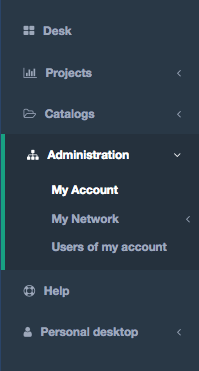
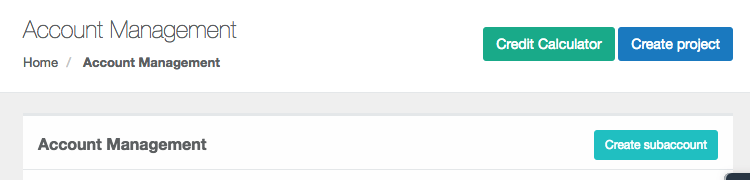
To create a sub-account for a customer, in the side menu of your desktop click on “Administration” and then “My Network” and “Account Management”
To the right of “Account Management” click the “Create Sub-Account” button
A form will be displayed with two (or three) sections (depending on the type of account you have yourself).

General Information
Here you can enter the data of your customer, the only mandatory data for you are “Account Manager Email”, “Subdomain”, “Account Type” and the “Plan”. All other data you can fill them in or let your customer or sub-account fill them in. Understand what this data means:
- “Administrator’s email”, is the email of your client, with which you are going to operate in the platform
- “Subdomain”, generally your client’s web domain or any word or small phrase that identifies it, without spaces. The Subdomain of your client will configure the domain that your client will use in the platform (example: http://mytext.evaluacenter.com), you only have to put the part that replaces “mytext” in the example
- “Accounting email”, if your client wants copies of orders to arrive at another email, you can put it here;
- “Type of account”, state whether it is a business or professional account
- “Plan”, set the pricing plan for your customer
The other “General Data” can be filled in or you can let your client fill them in because when you “Send” this form, your client will receive by email a link to check, complete and/or correct the data
Payment Details
Here you establish, if applicable to your account, the payment method and type of payment for your customer, i.e. how they will pay you. There are three forms of payment; Paypal, Stripe, and Transfer. Please note that depending on the permissions of your account you may not be able to enable some of these forms of payment, the payment method Transfer is always by default. There are three types of payment possible for your customers to pay the credits purchased, note that depending on your account may only have visible, and you may be able to use some of them and not all available.
Charge modules
When you have a “Professional” type account (consultant, head hunter, coach, HR services company, etc.), you can register both business subaccounts (clients who consume evaluations) and professionals (creating your own network of professionals). If this is the case, selecting “Professional” type of account will open a new section called “Charge Modules”, where you will be able to establish what form of collection allows your professional subaccounts (as they will charge their clients). There are three charge modules; Paypal, Cards (Stripe) and Transfer. Keep in mind that according to the permissions of your account you may not be able to enable some of these modules for your sub-accounts to use them, by default you will always have the “Transfer” module (that your sub-account can charge your customers by bank transfer).
Send the invitation to the new account
Once you have completed the data, click on the “Submit” button below, what will happen then?
- The system will send an invitation email to your customer
- Your client will access the form, complete the data and validate it
- You will receive an email and a notification on your “Desktop” to validate that account, you can check it again or simply “Activate” it
- Both will receive a confirmation email and your client will be able to start creating their evaluation projects
Resend the access link again
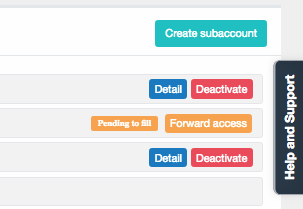
Do you need to send the access link again so that your client can fill in the company details? In the main page of “Account Management,” you will see the list with the accounts that you manage, in the account that corresponds to the client to whom you want to send the access again you will see a button of “Forward access”